Showing posts with label jargon. Show all posts

08/03/2015

High Dynamic Range | HDR

As I have struggled with lighting a fair bit so far during this project, I decided to try out creating some high dynamic range images (HDR) whilst out walking. Single photographs taken with a camera can only see 5 stops of exposure where as the human eye has 11 - 14 stops of exposure value. This is why single photographs cannot take on strong differences in light very well and why the true colour and detail is never quite the same, explaining why something may come out really dark on an image because another part of the subject matter is very bright. HDR images are created by taking the same photograph on a tripod so that nothing moves, the aperture is also kept the same and all you have to do is take at least three different photographs with different exposures so that you can get detail from the dark and light areas. 

Softwares like Photoshop have HDR functions that will automatically put your images together and then allow you to change things like the vibrancy and contrast of the final images. But overall you end up with photographs of much more detail as you can brighten darker areas and darken bright areas and still keep a large amount of detail in your photograph. The only thing to consider with HDR images is that they can look a bit unrealistic and not as representative as the landscape in real life as you can see in the images above, as colours look a lot more vibrant they look like they have a very high contrast on them. 

I decided to show how I assembled my HDR images on Photoshop as I haven't shared any of my Photoshop work in detail in my coursework yet. 

As you can see it is really simple to do this on Photoshop as they have a feature that allows you to automatically merge your photos to create a HDR image. First you just click on the File tab, hover your mouse over the automate button and click on the merge to HDR option. 


A box will then appear allowing you to browse and select the photos you want to merge together.

A screen will then appear with your merged image giving you the option to make adjustments to things such as shadows and highlights. Once you are happy with your image simply click ok, make any other edits you want to and then save the image.

Below are the HDR images I have created out of photos I took on my tripod whilst out walking at Lodge Moor the other day.

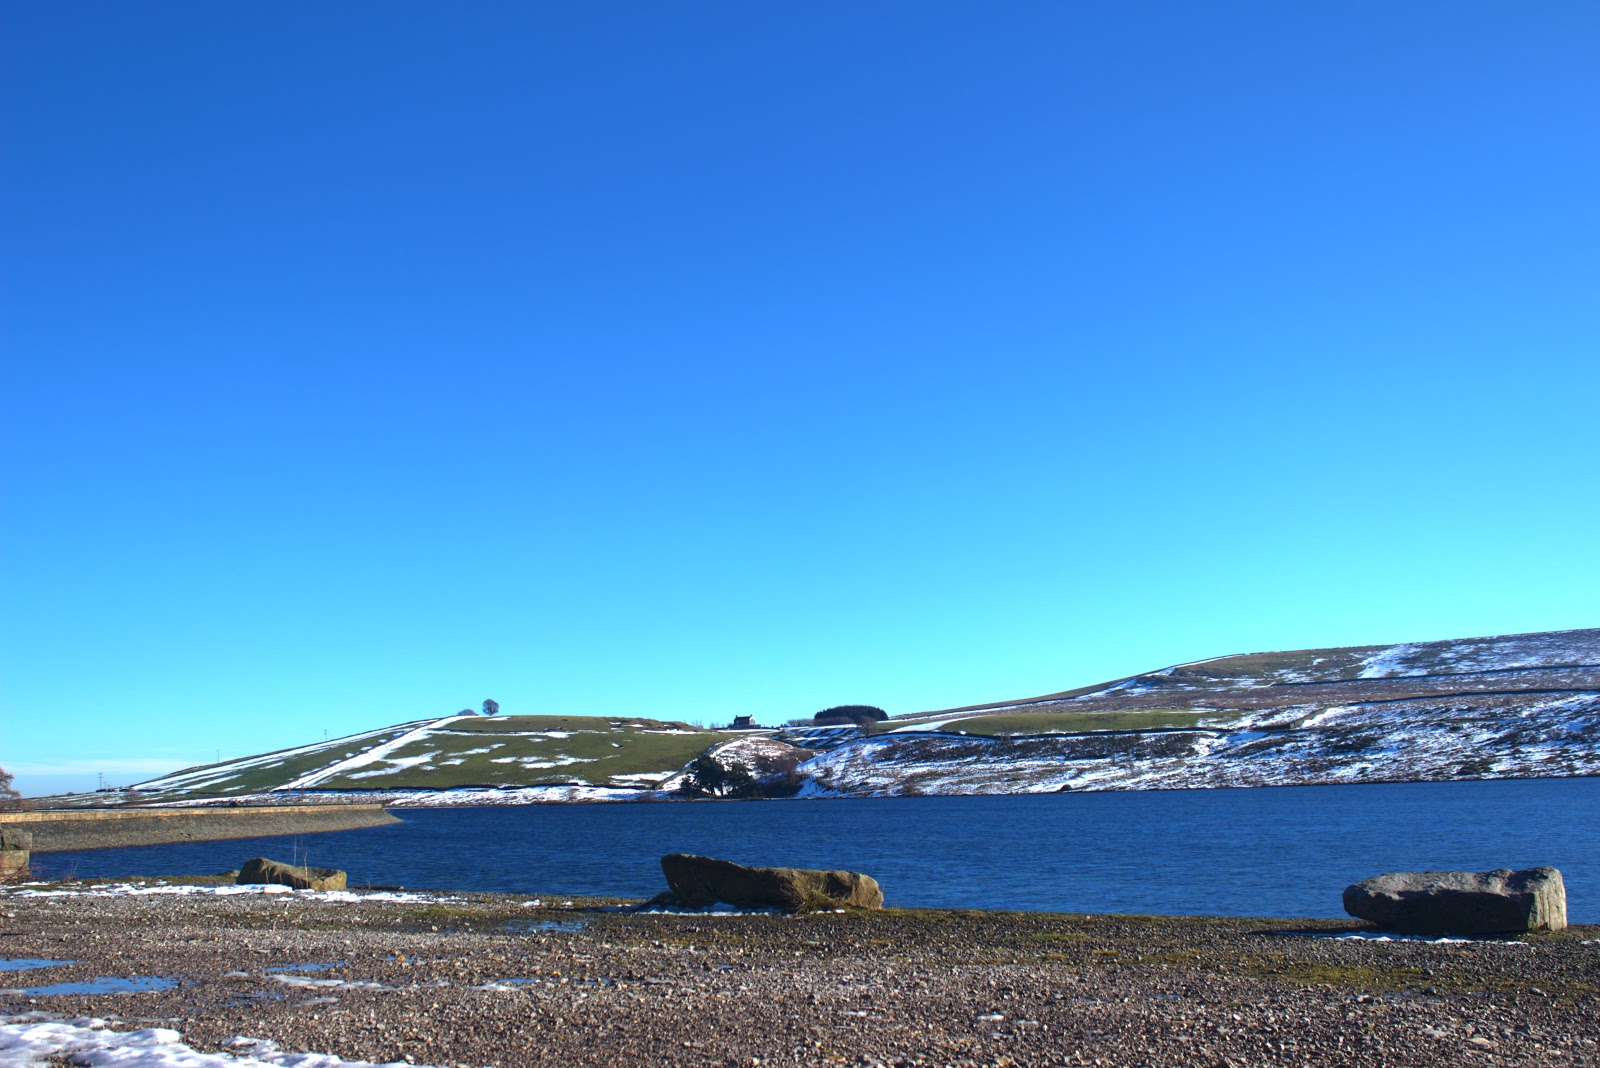


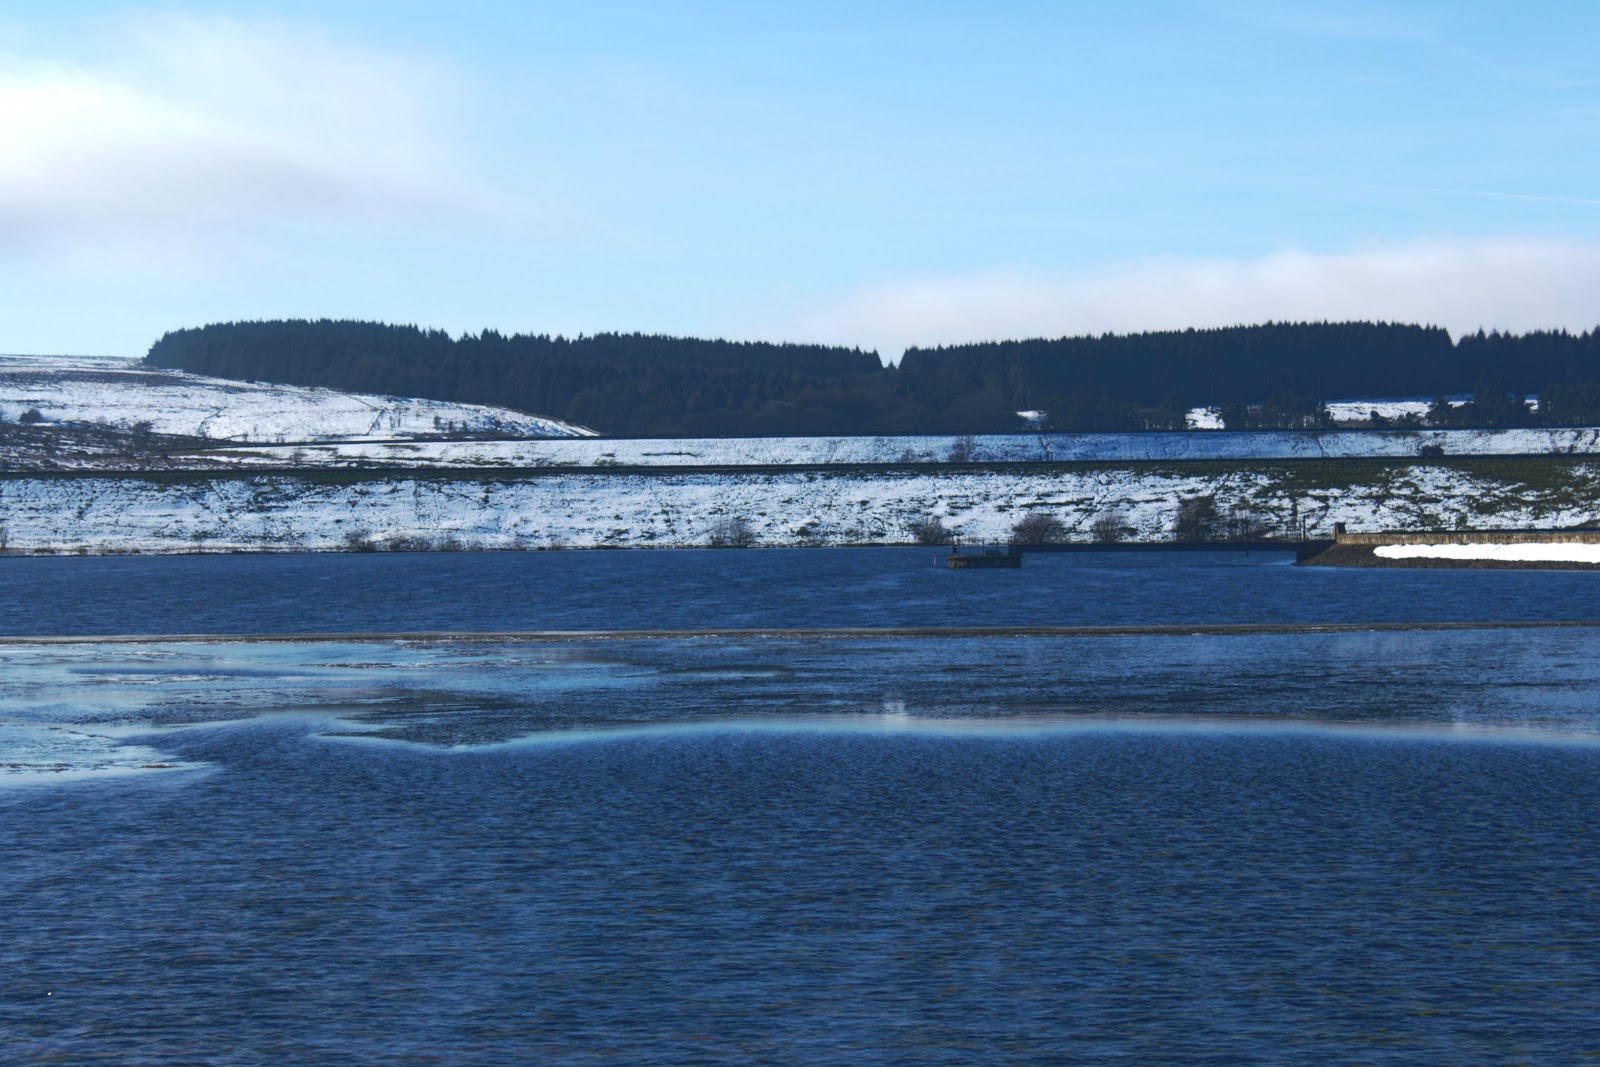

I haven't picked out any favourites from this set of images as I am not overly pleased with how any of them turned out. I do like the technique and it's really helped these photos as the sun was incredibly bright where we were. However HDR aside the conditions just weren't there for some good landscape photographs, because of the lighting and how bright and clear the sky was. I am finding it hard with the subject matter especially at this time of year as there isn't a lot of sunlight around during the day and when it is there it's too bright. It's also really hard for me to get out to places I'd like to take these photos and when I do it's a shame when it's this bright and hard to work with. 

I do like this method for creating images and would like to use it again in my work where possible. Because I found the lighting such a problem I hopefully want to find some ways around that and I also want to improve on my framing and the composition of my images as I really wasn't pleased with how I framed and composed the images above. They just are really bland photographs in my opinion and don't reveal anything about the subject matter in particular or anything more emotional in connection with nature like in my previous photos which I was a lot happier with. 

06/11/2014

Contact Sheets And The Decisive Moment

The decisive moment is massively important in street photography, which is when you decide to press your shutter and capture you photo. The decisive moment is particularly important in street photography as it isn't like going into a studio and taking a portrait of someone, because with that you know what you are going to get as pre production and planning are involved. Street photography is spontaneous. You can't plan a photo to any great extent, you simply have to find it or wait for it to come to you, and capture your shot when everything comes together to make an interesting and effective photo for you. The time you decide to capture these situations in your camera is the decisive moment and it is crucial in creating captivating street photography.


As research into street photography techniques I decided to look at Magnum contact sheets. A contact sheet consists of strips of film printed onto photographic paper, and reveals every shot the photographer has taken acting as a diary of what they have done with a roll of film and a tool for selecting photos worth enlarging. Contact sheets reveal to us that person's photographic process and decision making techniques, and also how they experiment and approach their chosen subject matter. Because they are very personal we rarely see contact sheets from a photographer, instead we see what to them is the perfect outcome of what they were trying to achieve.  

I decided to look at Elliot Erwitt's contact sheets in particular as he was one of the original Magnum members and I do like his photographic style in terms of making what can be quite everyday subject matters more humorous and entertaining to observe through a photograph. In the contact sheet above we can see how Erwitt went about photographing these two dogs and their owner. We can see that he took a lot of photographs and experimented with lots of different angles. In the earlier photos he was at a higher vantage point to his subjects and then turned his camera around to take portrait photos, after this you can see that he decided to lower himself and returned to taking landscape photos. The photo highlighted at the end is the photo Erwitt chose and printed, and has become a well known and recognisable street photograph of his world wide. 

What this contact sheet reveals about Elliot Erwitt is his process for taking photos, he takes many shots and experiments to make the best photo he can, being patient and waiting for the perfect moment, whereas William Klein for example would see something, take a photo if the moment is right for him and move to the next subject matter.

William Klein On His Contact Sheets


"I would look at my contact sheets and my heart would be beating, you know. To see if I'd caught what I wanted. Sometimes, I'd take shots without aiming, just to see what happened. I'd rush in crowds - bang! Bang! I liked the idea of luck and taking a chance, other times I'd frame a composition I saw and plant myself somewhere, longing for some accident to happen."

I really enjoyed this video by William Klein talking about his technique because it really revealed his style and attitude to his photography. I love the way he doesn't take himself to seriously and It really helped me learn more about his process for taking his photos, he see's an oppotunity, takes it and looks for another.
 
Looking at these contact sheets and the way these photographer's go about doing their street photography has really made me think more about how I go about taking my own photographs. Next time I take photographs I want to be more patient like Elliot Erwitt and really work for the best shot I can make.

18/09/2014

Depth Of Field


Wide Depth Of Field

This picture shows a wide depth of field which means it is taken on a lower aperture setting. This lets more light into the lense creating more distance in terms of focus on what you're photographing. As you can see in this picture that I took of a wasp everything that isn't directly in focus is blurry. Therefore the lower your f-stop the less in focus and more blurred everything else that isn't in focus is.


Narrow Depth Of Field

A picture with a narrow depth of field is the complete opposite in that instead of one part of a photo being in focus everything is more sharp and there looks like there is less distance between what is in the photograph. This is because a higher f-stop is used meaning less light goes into the lens.