

As I have struggled with lighting a fair bit so far during this project, I decided to try out creating some high dynamic range images (HDR) whilst out walking. Single photographs taken with a camera can only see 5 stops of exposure where as the human eye has 11 - 14 stops of exposure value. This is why single photographs cannot take on strong differences in light very well and why the true colour and detail is never quite the same, explaining why something may come out really dark on an image because another part of the subject matter is very bright. HDR images are created by taking the same photograph on a tripod so that nothing moves, the aperture is also kept the same and all you have to do is take at least three different photographs with different exposures so that you can get detail from the dark and light areas.
Softwares like Photoshop have HDR functions that will automatically put your images together and then allow you to change things like the vibrancy and contrast of the final images. But overall you end up with photographs of much more detail as you can brighten darker areas and darken bright areas and still keep a large amount of detail in your photograph. The only thing to consider with HDR images is that they can look a bit unrealistic and not as representative as the landscape in real life as you can see in the images above, as colours look a lot more vibrant they look like they have a very high contrast on them.
 |
| I decided to show how I assembled my HDR images on Photoshop as I haven't shared any of my Photoshop work in detail in my coursework yet. |
As you can see it is really simple to do this on Photoshop as they have a feature that allows you to automatically merge your photos to create a HDR image. First you just click on the File tab, hover your mouse over the automate button and click on the merge to HDR option.

A box will then appear allowing you to browse and select the photos you want to merge together.

A screen will then appear with your merged image giving you the option to make adjustments to things such as shadows and highlights. Once you are happy with your image simply click ok, make any other edits you want to and then save the image.
Below are the HDR images I have created out of photos I took on my tripod whilst out walking at Lodge Moor the other day.

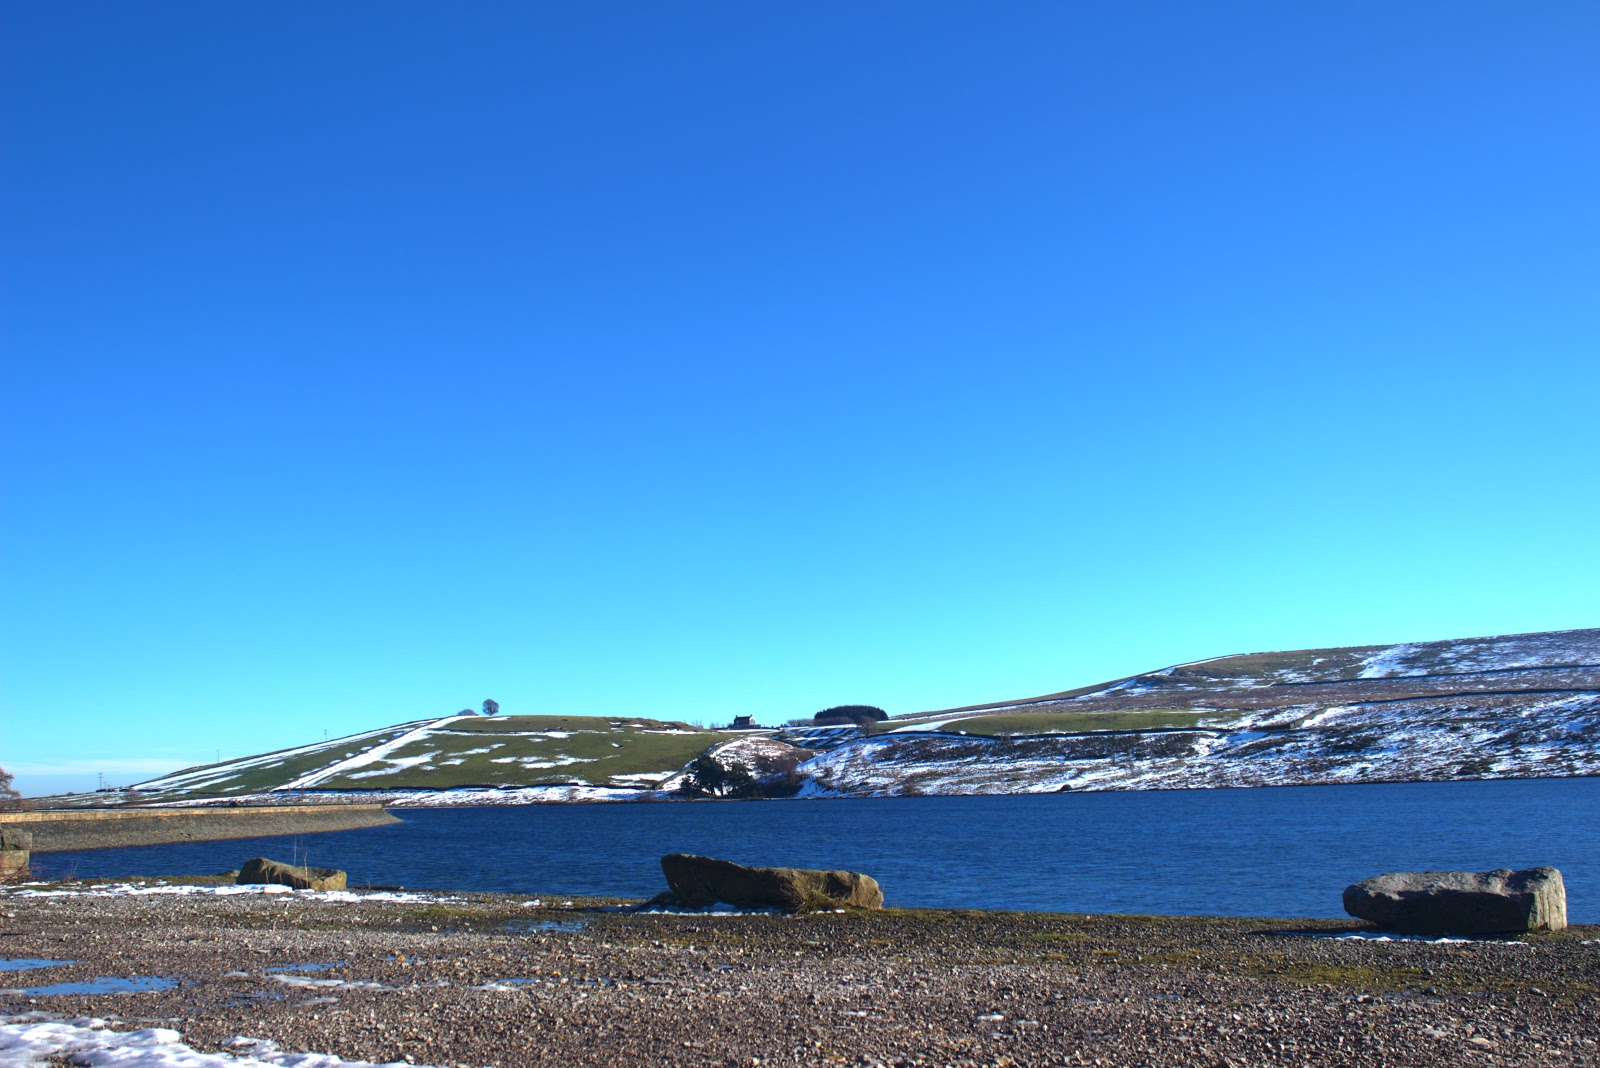


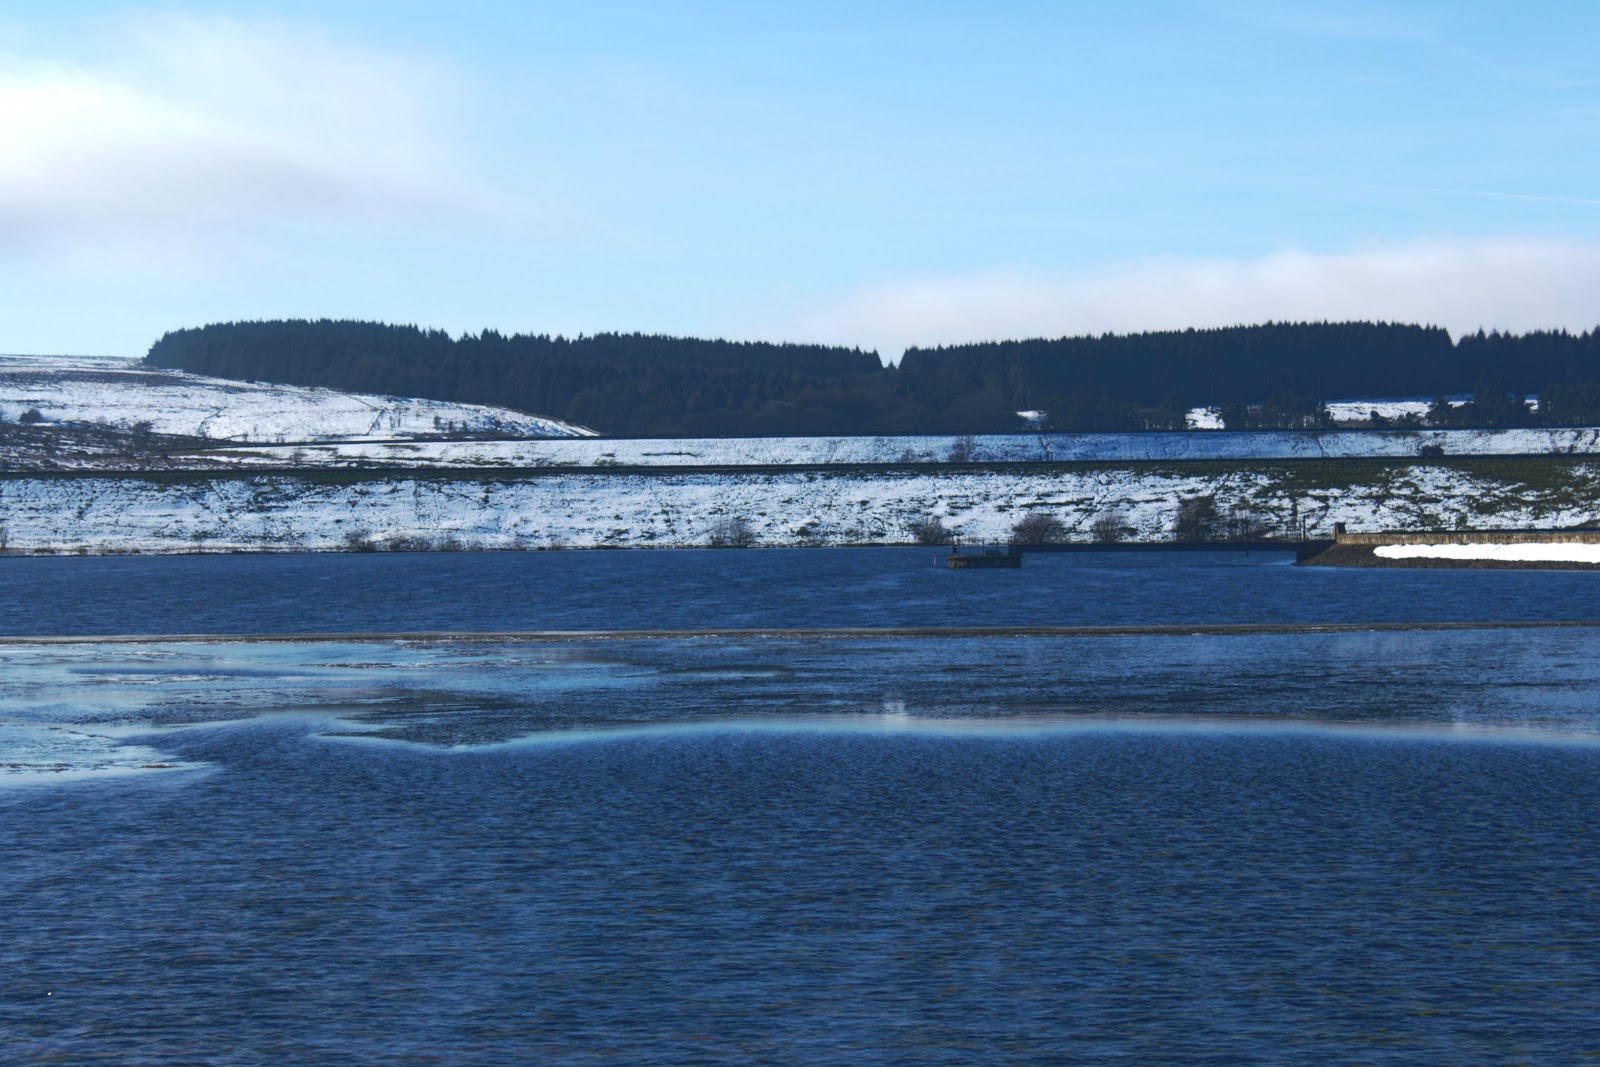
I haven't picked out any favourites from this set of images as I am not overly pleased with how any of them turned out. I do like the technique and it's really helped these photos as the sun was incredibly bright where we were. However HDR aside the conditions just weren't there for some good landscape photographs, because of the lighting and how bright and clear the sky was. I am finding it hard with the subject matter especially at this time of year as there isn't a lot of sunlight around during the day and when it is there it's too bright. It's also really hard for me to get out to places I'd like to take these photos and when I do it's a shame when it's this bright and hard to work with.
I do like this method for creating images and would like to use it again in my work where possible. Because I found the lighting such a problem I hopefully want to find some ways around that and I also want to improve on my framing and the composition of my images as I really wasn't pleased with how I framed and composed the images above. They just are really bland photographs in my opinion and don't reveal anything about the subject matter in particular or anything more emotional in connection with nature like in my previous photos which I was a lot happier with.
No comments:
Post a Comment